In entry 1 I compared a scan from my DSLR to a scan from the Noritsu HS-1800 and concluded that I preferred the DSLR scan, but I mentioned that the comparison between the two scanners was unfair. This post will briefly explore how, with a few digressions.
The HS-1800 scan considered in entry 1 was done at the scanner’s medium resolution setting, with dimensions of 2048x2796, or 5.7 megapixels. The HS-1800 can scan a frame of 645 at up to 4824x3533, or 17 megapixels, based on the Indie Film Lab scan dimensions table (and some conversations with experts who approved those numbers). The scan from the Pentax K-1 is 4463x6067, or 27 megapixels – quite a bit more than the HS-1800.
So the modern DSLR system still beats the Noritsu HS-1800 when considering nothing but the output resolution of a 645 frame scan.
But the HS-1800 can scan a 35mm frame at 4492x6775, or 30.4 megapixels, even though a 35mm frame occupies less than 40% of the area of a 645 frame. I find this quirk of the HS-1800 interesting enough that I think it deserves a little deep dive, which is what the rest of this post will be.
To answer this question we’ll need to back up a bit and get some background on how the Noritsu HS-1800 scanner works.
Noritsu HS-1800 Basics

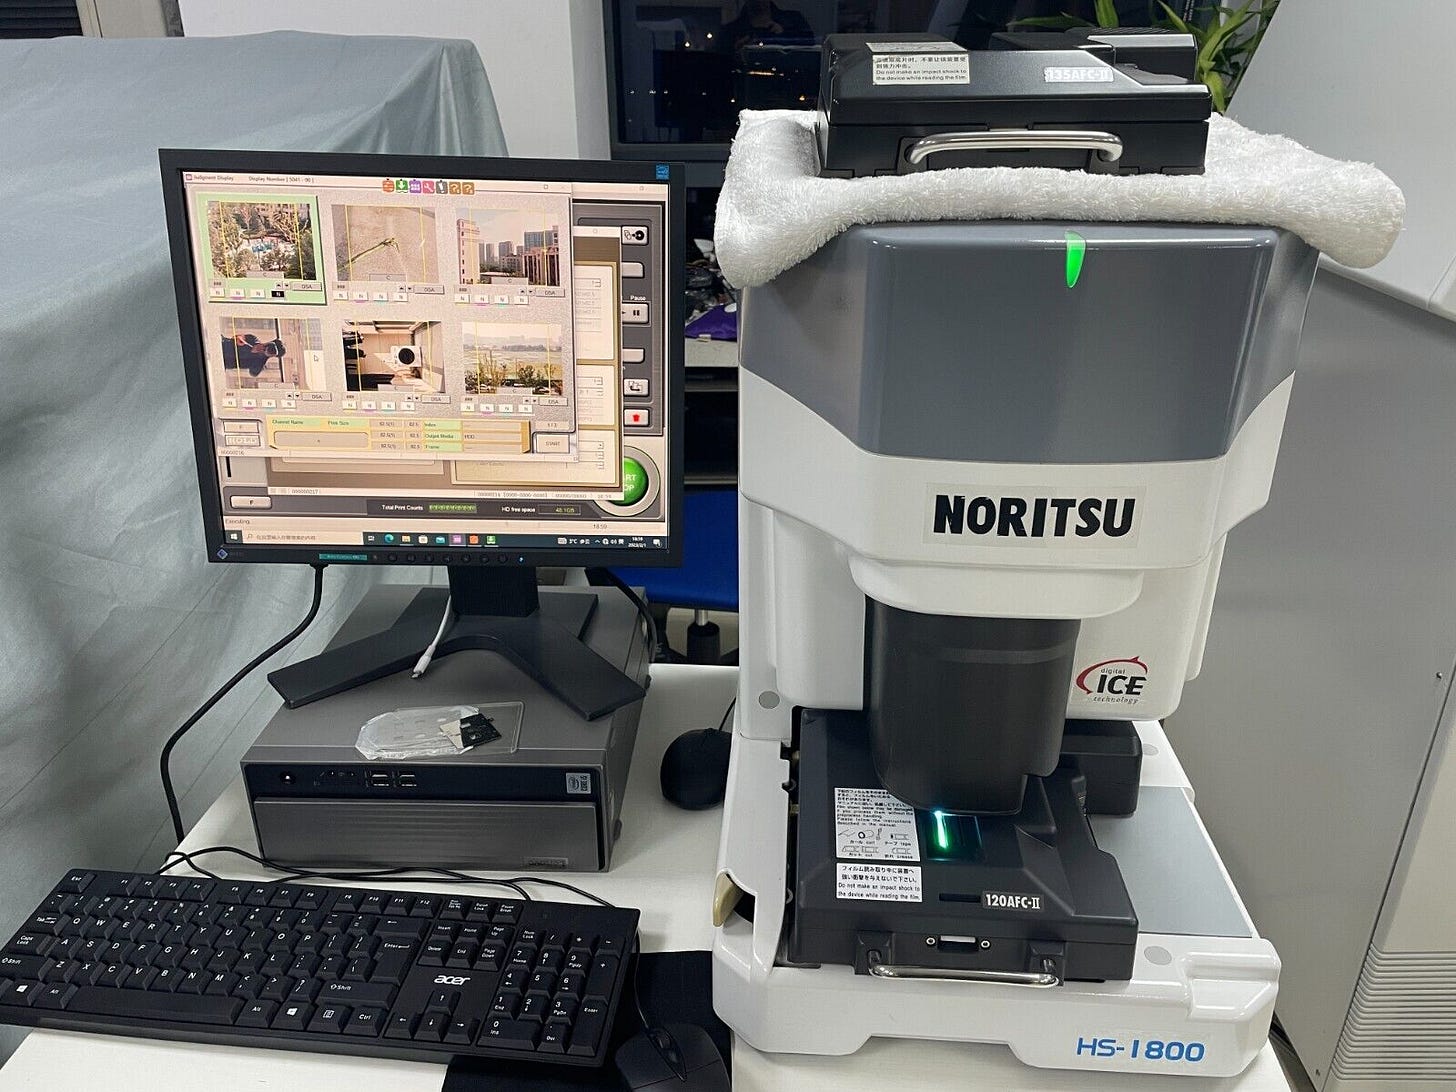
The Noritsu HS-1800 is a lab grade scanner for 35mm and 120 film (and APS). The HS-1800 uses a high precision motor feed to move an entire roll of film past a line scanner (containing different lines for red, green, blue, and presumably infrared light as well) and combines the scan lines into images for each frame on the roll.
This video shows how quickly the HS-1800 can scan a roll of 120 film. The scanning workflow is brilliantly designed: a low resolution pre-scan of the entire roll is done as the roll is fed into the scanner. The entire pre-scan takes about five seconds. Once fed in, the roll sits inside the scanner – safe from dust – while the operator views the preview scans and makes adjustments. Then, the roll is fed back out of the scanner as the real high resolution scan is performed.
Bigger Files for Smaller Film
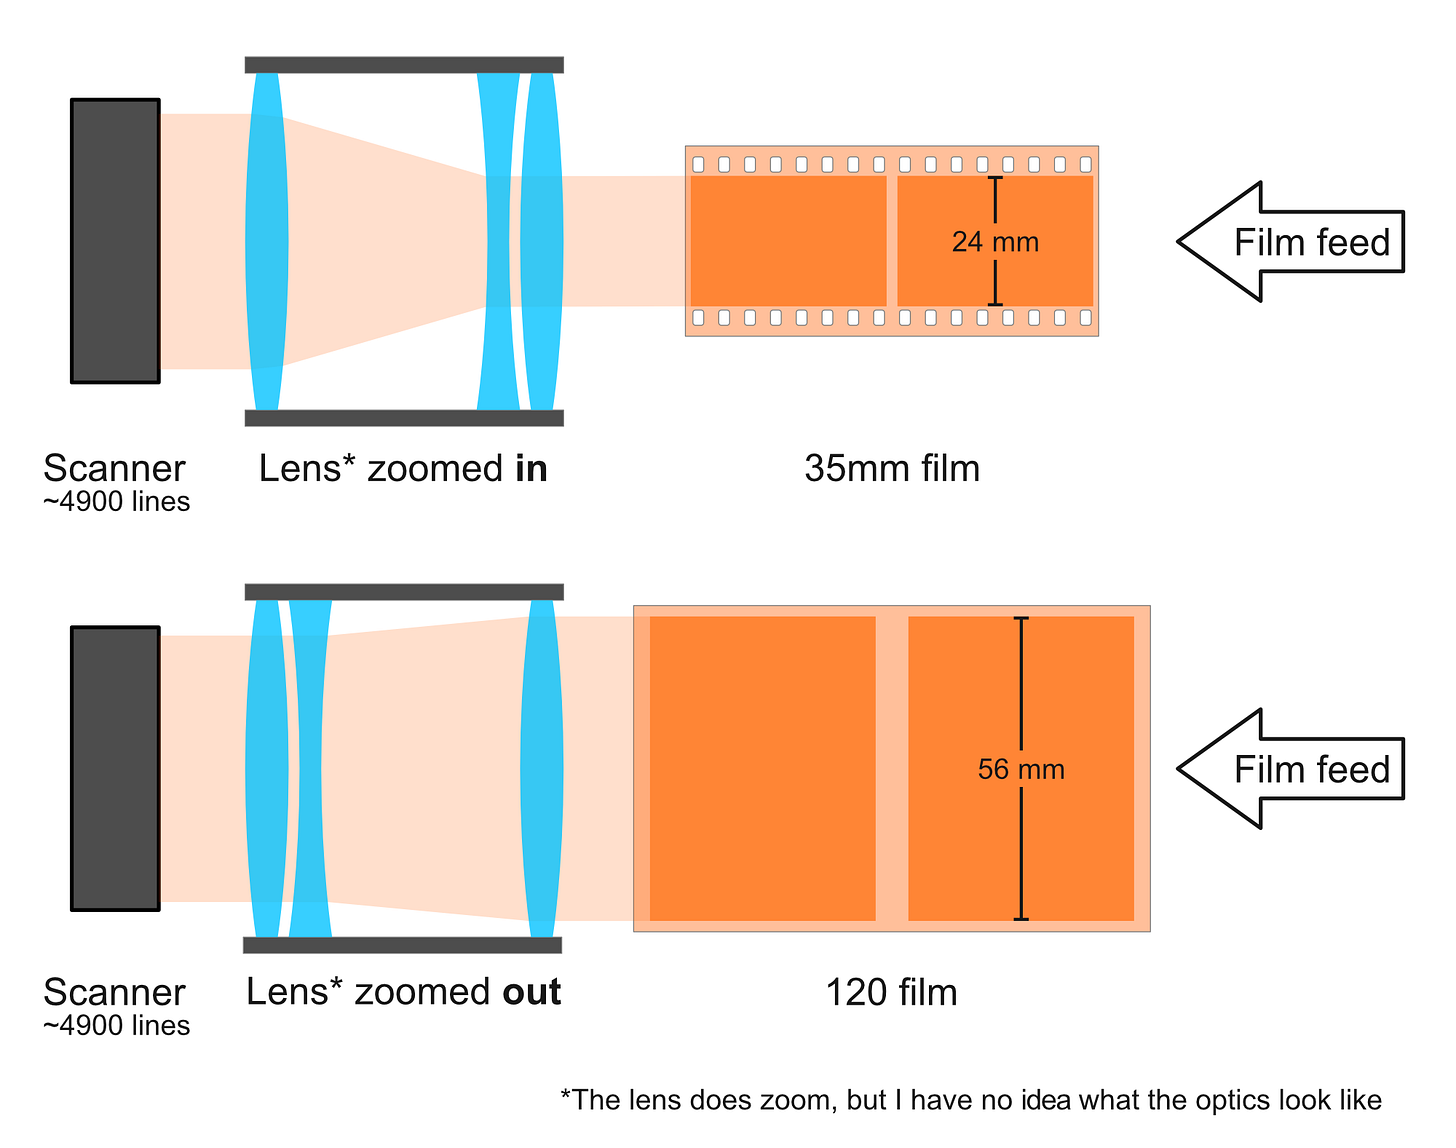
The HS-1800 uses the same scanning element and optics for all film formats, and this fact begins to explain why it produces bigger files when scanning smaller film.
The lens between the film and the scanning element (labeled Scanner in the diagram below) zooms in for 35mm and out for 120, distributing roughly the same number of scan lines across the width of either format:
Thus the HS-1800 does not have a fixed scan DPI like a flatbed scanner. Rather, because of the zoom lens, it has variable scan DPI with a fixed number of scan lines.
Let’s calculate the effective DPI for each format on the HS-1800, and the same for the Pentax K-1 (the camera I scan 120 film with) while we’re at it:
HS-1800 35mm: 4492 lines / 24 mm * [ 25.4 mm / inch ] => 4754 dpi
HS-1800 120: 4824 lines / 56 mm * [ 25.4 mm / inch ] => 2188 dpi
K-1 120 (645): 6067 pixels / 56 mm * [ 25.4 mm / inch ] => 2751 dpi
With the HS-1800, the DPI when scanning 35mm film is about double the DPI when scanning 120 film, because frames on 35mm film are about half the height of frames on 120 film. And the resulting file from a frame of 645 is about half the size of a file from a frame of 35mm film because of the portrait aspect ratio of 645 – from the perspective of the scanner – compared to the landscape ratio of 35mm.
Frames on 35mm film are 36mm by 24mm, a 3x2 aspect ratio (AR). 645 frames – named for their aspect ratio – do indeed have an aspect ratio of about 6x4.5, equivalent to 2x1.5. Putting the numbers next to each other helps us see why 645 files are half the size of 35mm files:
35mm: 3x2 AR => 3*2 = 6 [image area units]
645: 1.5x2 AR => 1.5*2 = 3 [image area units]
Why did they design it this way?
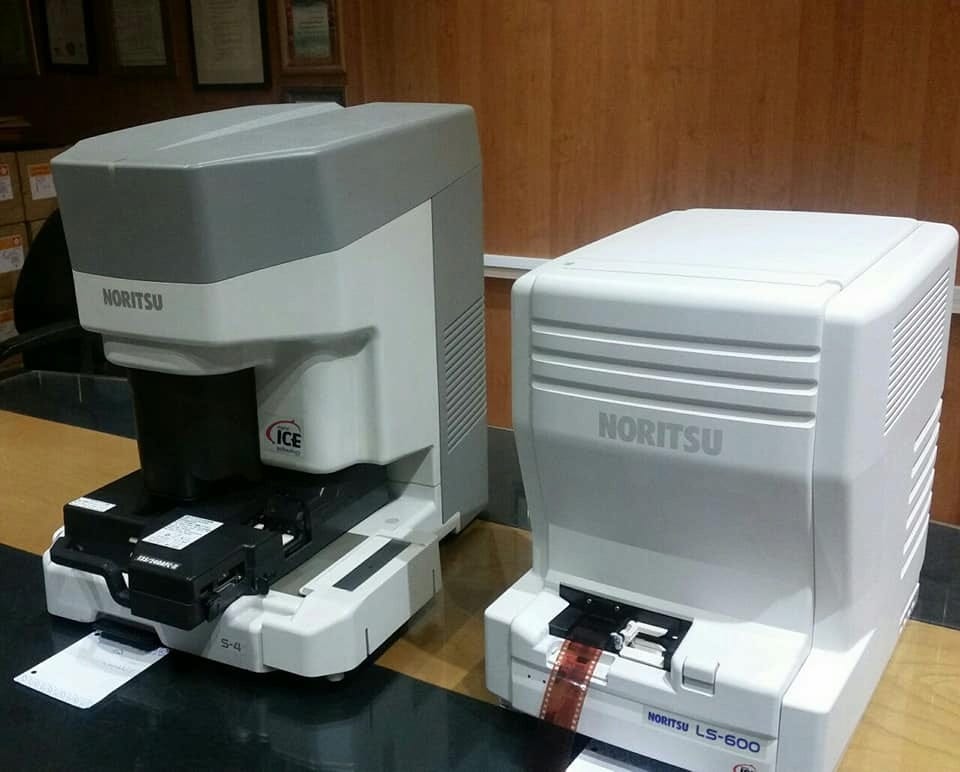
I don’t know for sure. But the HS-1800 comes from a line of dedicated 35mm film scanners including the LS-600 and LS-1100:
The HS-1800 is not that different in appearance or operating principles from the LS-600/1100, and probably the easiest way for Noritsu to modify the LS-1100 to support multiple different formats was to enable the lens to zoom in and out. 2188 dpi is plenty for most uses of 120 film, and photographers who needed higher DPI scans of their 120 film in the ‘90s were likely professionals who would be using drum scanners, which even today still offer the best color, dynamic range, and resolution in film scanning.
Thanks for reading!
This is the third of three posts that I had queued up when I started this blog. I’ll be back soon with a post on a detail of my DSLR scanning workflow – most interesting to photographers who DSLR scan specifically with vintage lenses. Not sure what comes after that, but if you have any requests or questions please leave a comment!


