Flat-Field Correction for DSLR Scanning
Improve color accuracy and reduce vignetting – even on existing scans
Scanning film with a DSLR is appealing in its simplicity: point a camera at the film and take a picture. And most of the time, you can do just that and get great results.
Recently I went out to shoot some more Kodak Vericolor III (VPS), expired ‘97. I don’t shoot expired film for the “expired film” look – extreme grain, shifted colors. I like to shoot it because there’s lots of good-condition expired color negative film available for cheap on eBay, and a lot of it is discontinued film stock – film stock that I’ve never shot before. Often I can just blast it with light and get good results, as I explored in a previous post.
So I rated this 160 speed film at ISO 40 – two stops overexposed – and went out for a walk in bright sunlight. The film was more expired than I’d anticipated, so the negatives came out a little low contrast and getting good DSLR scans was challenging – even overexposing by two stops!
In fact, these negatives were so challenging to scan that I had to revamp my entire scanning workflow in the process. The issue that kicked off the revamp is visible in the frame below:
This image looks okay at first glance, but look closely at the corners: they are brighter and color shifted red. This may add to the “expired film” look, but that’s not what I was going for.
This was an artifact that I had never seen from my flatbed scanner, so I figured it must have been coming from the DSLR setup. It looked like vignetting, only the corners were brighter instead of darker… but then I remembered that these were inverted images. Here’s the original image before inversion:
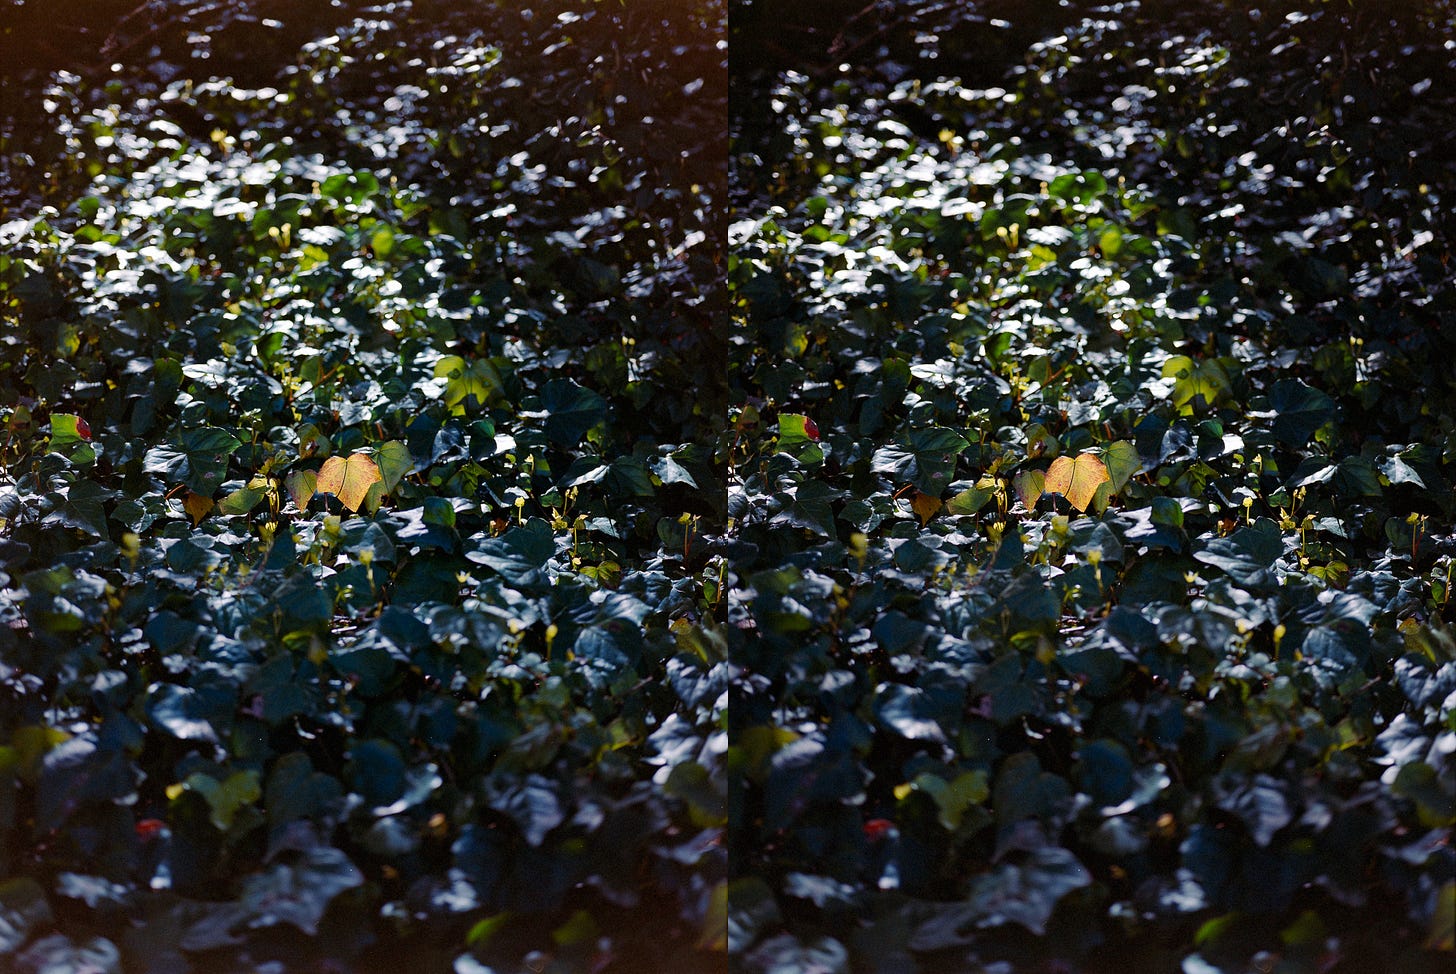
The vignetting is really only visible in the negative when comparing the two back-to-back, so here’s a video that switches between the original and vignette-corrected images once every second:
The difference is small but present, and the negative inversion process emphasizes it, since that process expands the image data to fill the full dynamic range of the resulting inverted image.
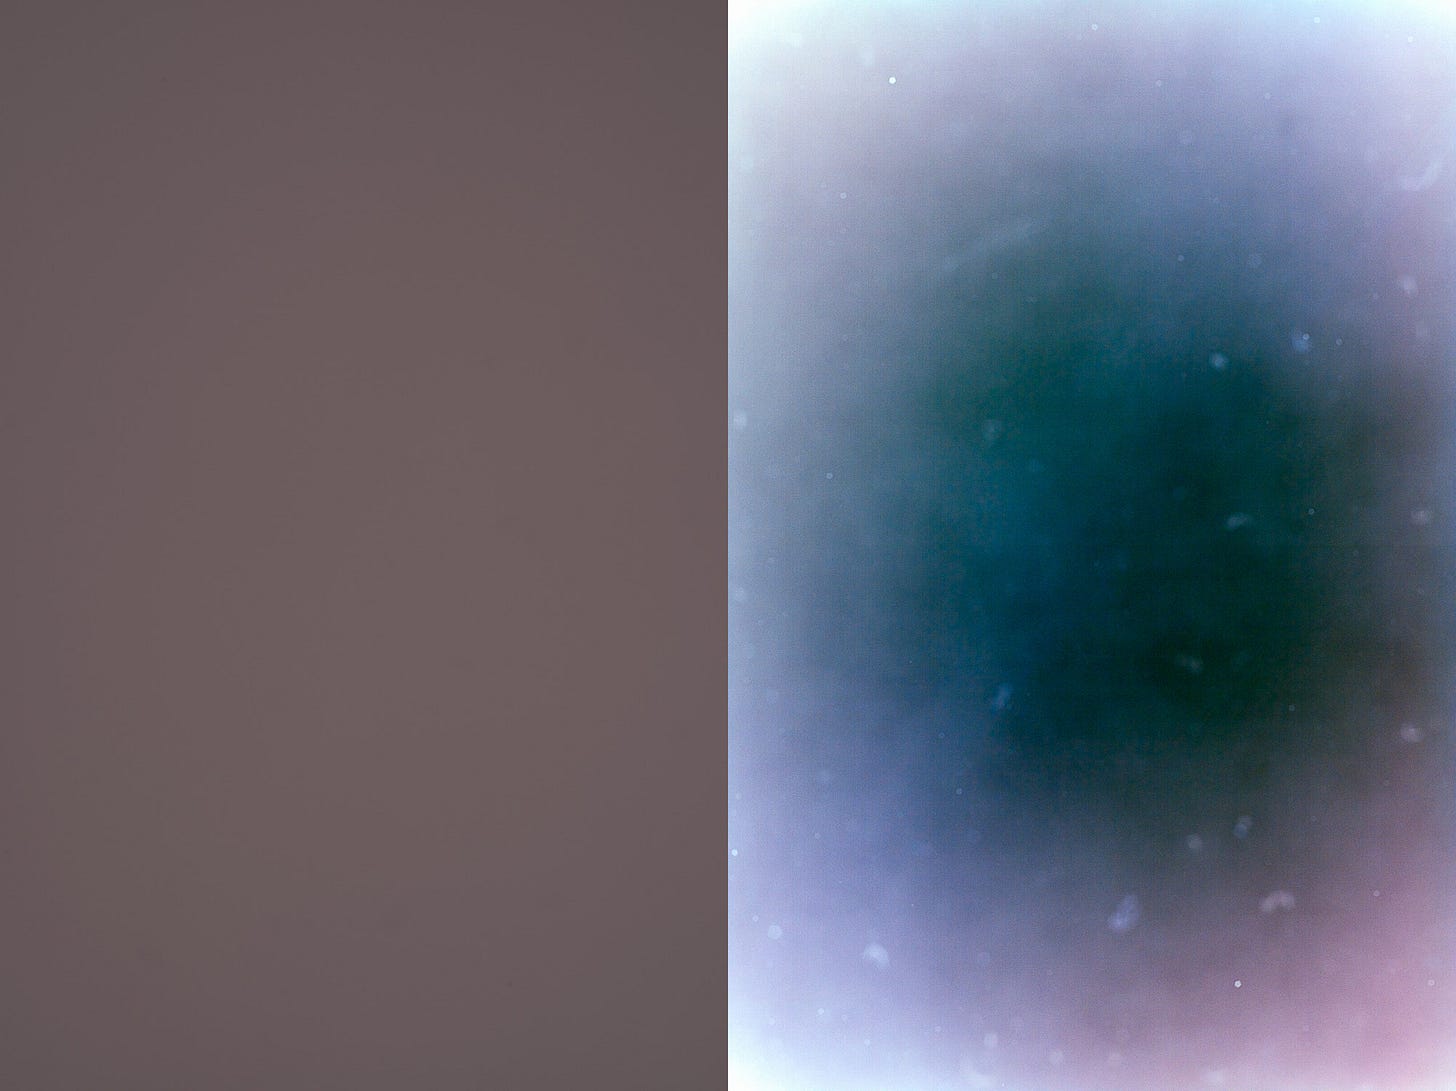
I wasn’t convinced that vignetting was really the problem – since the effect on the negative looks so small – until I used my scanning camera to take a picture of the light source only, and then ran that image through the negative inversion process:
It’s not uniform! Far from it! Dusty, too.
Granted, the inversion process amplifies the vignetting much more than normal here, since there’s very little difference between the lightest and darkest parts of the original image. But it was clear from this image that the image sensor was not being illuminated uniformly.
Using Lightroom’s built-in flat-field correction
Fortunately Lightroom has built-in support for flat-field correction, an image processing technique that uses the exact picture I took here – the flat field or calibration frame, an image of a uniform light source covering the entire image sensor – to correct for nonuniform illumination in the imaging system. True flat-field correction can account for much more than just lens vignetting, but that was all I needed it to account for in this case, and it did a great job:
This particular image needed a little bit more help, so I finished it off with the manual vignette correction tool (the one under Lens Corrections, not “Post-Crop Vignetting” under Effects):
If you can’t collect a calibration frame, you could use only Lightroom’s built-in vignetting correction feature and get decent results:
One disadvantage of using the manual tool only is each image could require a different level of correction, adding more work for every image. Meanwhile, after automatic flat-field correction, most images look great and require no further correction. Also, flat-field correction plus manual vignette correction offers slightly better results than manual vignette correction alone, but again, the differences are too subtle to show up in anything but a back-to-back comparison, so here’s another one:
Adding flat-field correction to your own workflow
Adobe provides a good step-by-step guide for using flat-field correction.
You can apply flat-field correction to any images in your Lightroom Classic library at any point in the conversion process, even after cropping and rotation – as long as the cropping and rotation has been done in Lightroom – since Lightroom works with the underlying image file itself (as it should for a process like this). Correction can also be applied retroactively, with a calibration frame taken long after the scan was made, as long as no relevant parameters of your scanning setup (camera position, light source, lens, etc.) have changed in the meantime.
Lightroom requires only one calibration frame per file converted – just make sure the calibration frame is at the beginning or end of your selection.
One note – if you use Negative Lab Pro (NLP) to invert your negative film scans, as I do, you will want to unconvert and re-convert your negatives after applying the correction, since flat-field correction can change the color balance in a way that NLP needs to account for. If you white balance off the base, you may want to re-white balance too, since the base color can shift slightly after correction.
When to do this?
I do this to all of my images now. In side-to-side comparisons I find that flat-field correction always improves the resulting image, even from properly exposed negatives on modern film that look fine without it on first glance:
In the uncorrected image, the shadows under the trees are shifted red, and so is the bright white building on the right:
Caveats
Flat-field correction will not account for all vignetting, as seen here.
Flat-field correction will be most useful when scanning with vintage lenses, as many modern lenses provide information to the camera and/or RAW developer that can account for vignetting introduced by the lens. I’ve never scanned with a modern lens so I’m not sure whether flat-field correction would still be useful, but I imagine that it would be.
The light source must cover the entire image sensor in the calibration frame, or Lightroom will refuse to use it, even if you crop the calibration frame.
Thanks for reading!
Many film photographers have discovered flat-field correction and its benefits, and I owe them for writing about their experiences. I’m mostly writing to signal boost, since I didn’t know about this technique until I ran into problems that I couldn’t solve any other way. I’d love to hear from you if this technique helped you improve your film scans, or if you have any other DSLR scanning workflow tips!


Correction: I wrote "Lightroom requires only one calibration frame per file converted", but I meant to write "Lightroom requires only one calibration frame per *set of files* converted".